GET A FREE QUOTE TODAY - CALL US (727) 518-9122
Blog Layout
Lifeproof Flooring Installation: Your Step-by-Step Guide to Success
Oct 11, 2023
Installing Lifeproof flooring can utterly transform your space, offering a dash of elegance that is both visually pleasing and remarkably durable. Lifeproof, as the name implies, pledges a resistance against life’s unpredictable spills and thrills, presenting homeowners with a stylish, yet pragmatic flooring option. In a world where longevity and aesthetic appeal collide, understanding the nuance of a successful installation is pivotal. Thus, this step-by-step guide is crafted to navigate you through the labyrinth of ensuring your Lifeproof flooring installation is not only smooth but also resilient against the tribulations of daily wear and tear.
1. Why Choose Lifeproof Flooring?
A. Benefits and Advantages
- Durability: Installing Lifeproof flooring ensures a robust and long-lasting surface, resistant to daily wear and tear.
- Water-Resistant: Lifeproof flooring provides a fantastic option for areas prone to moisture, like bathrooms and kitchens, due to its notable water-resistant properties.
- Ease of Maintenance: This flooring type is not only easy to clean but also resists most stains, making it a low-maintenance choice for busy households.
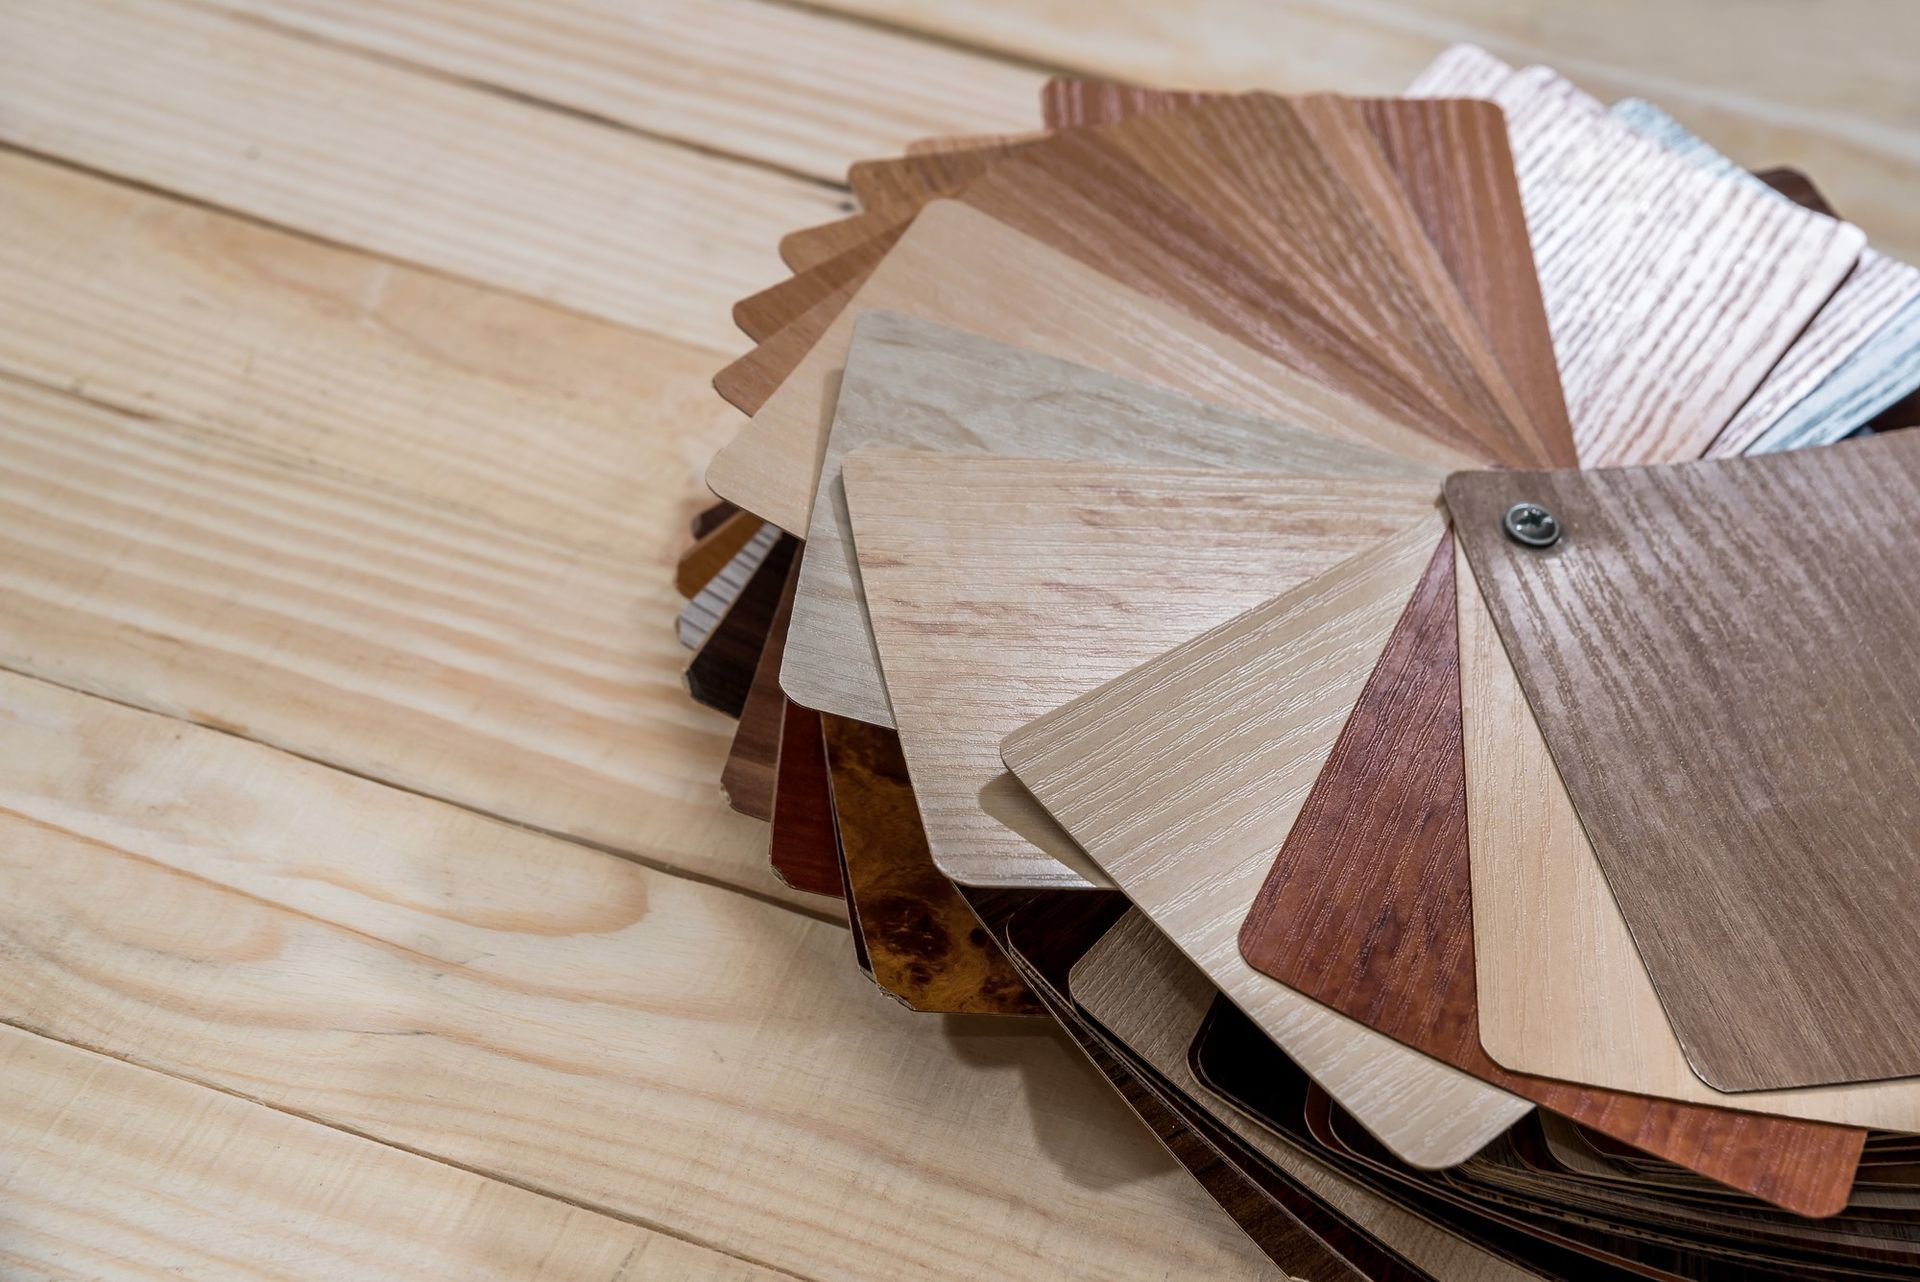
B. Variety and Options Available
- Styles: Explore the array of styles from traditional to modern that Lifeproof flooring offers.
- Textures and Finishes: Discuss the myriad of textures and finishes available, ensuring options to match various interior décors.
- Installation Types: While focusing on installing Lifeproof flooring, highlight the different installation methods available to cater to various needs and skill levels.
C. Where it Stands Amongst Other Flooring Types
- Comparison with Other Materials: Provide a comparative analysis of Lifeproof flooring with hardwood, laminate, and tile.
- Cost-effectiveness: Discuss how the long-term benefits and durability of installing Lifeproof flooring can be a cost-effective choice in the long run.
2. Preliminary Steps Before Installing Lifeproof Flooring
A. Room and Floor Preparation
- Clearing the Space: Ensure that the room is empty and clean, safeguarding against any potential obstructions during installation.
- Old Flooring Removal: Offer a brief guide on how to safely and effectively remove any pre-existing flooring.
B. Tools and Materials Checklist
- Essential Tools: List down and explain the significance of each tool used in the installation, like a tapping block, pull bar, and spacers.
- Material Calculation: Explain how to accurately calculate the amount of Lifeproof flooring material needed, considering an additional percentage for potential errors or future repairs.
C. Potential Challenges and How to Mitigate Them
- Uneven Subfloor: Discuss the problems an uneven subfloor can create and how to address them before installing Lifeproof flooring.
- Moisture Issues: Provide insights into how to manage subfloor moisture using vapor barriers or underlayment.
3. A Deep Dive into Installing Life-proof Flooring
A. Step 1: Subfloor Preparation
Cleaning and Levelling the Subfloor: Address the importance of a clean, debris-free subfloor and discuss methods for leveling, such as using a self-leveling compound.
Addressing Moisture Concerns: Expand on how to identify and deal with moisture issues to prevent future flooring damage.
B. Step 2: Planning the Layout
Measuring and Marking: A detailed guide on how to measure the room, calculate the flooring needed, and mark guidelines to ensure straight installation.
Deciding the Starting Point and Direction: Discuss strategies to determine the best starting point and direction for installing Lifeproof flooring for optimal aesthetic appeal.
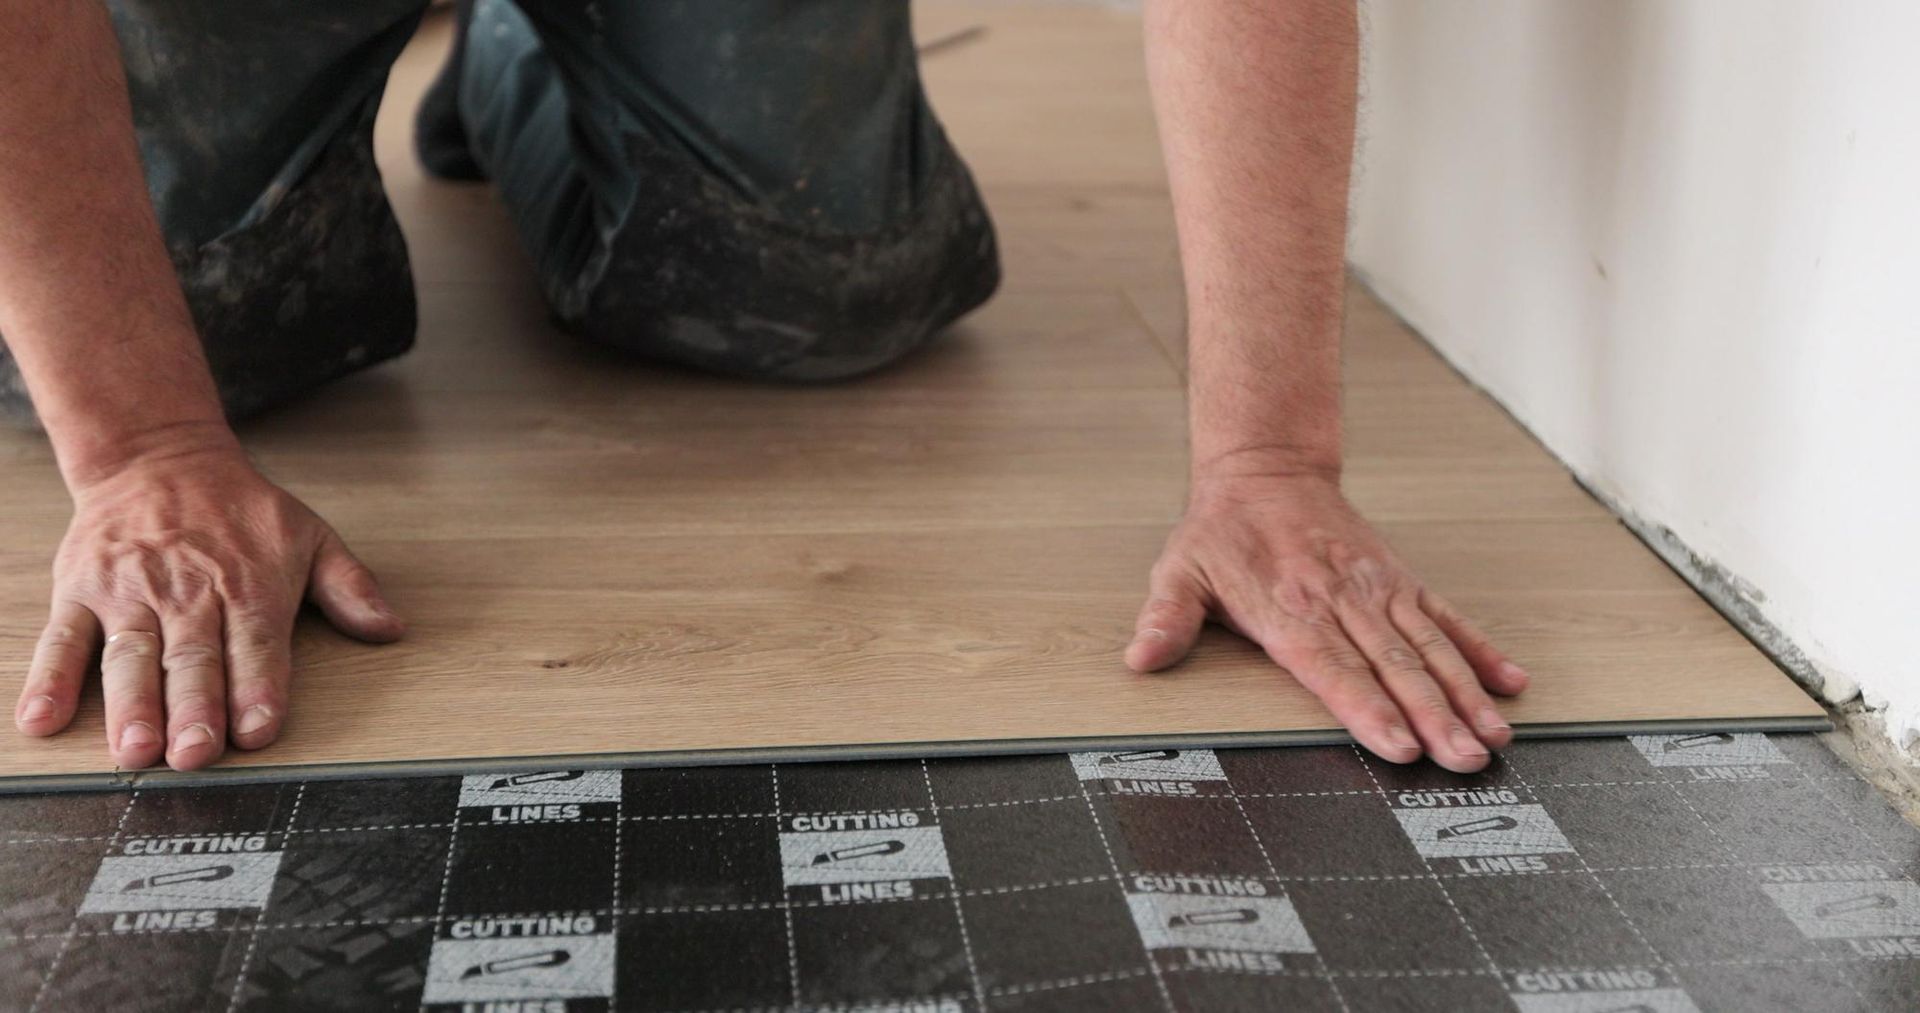
C. Step 3: Cutting and Installing the Planks
Techniques for Accurate Cutting: Offer tips and methods for accurate measurements and cutting, considering doorways and other structural nuances.
Ensuring Planks are Securely Installed: Discuss how to securely lock the planks, addressing any potential issues like gaps or misalignments, and how to resolve them.
D. Step 4: Detailing and Finishing Touches
After successfully installing Lifeproof flooring, it’s imperative to focus on the detailing and finishing touches to ensure a polished and professional look.
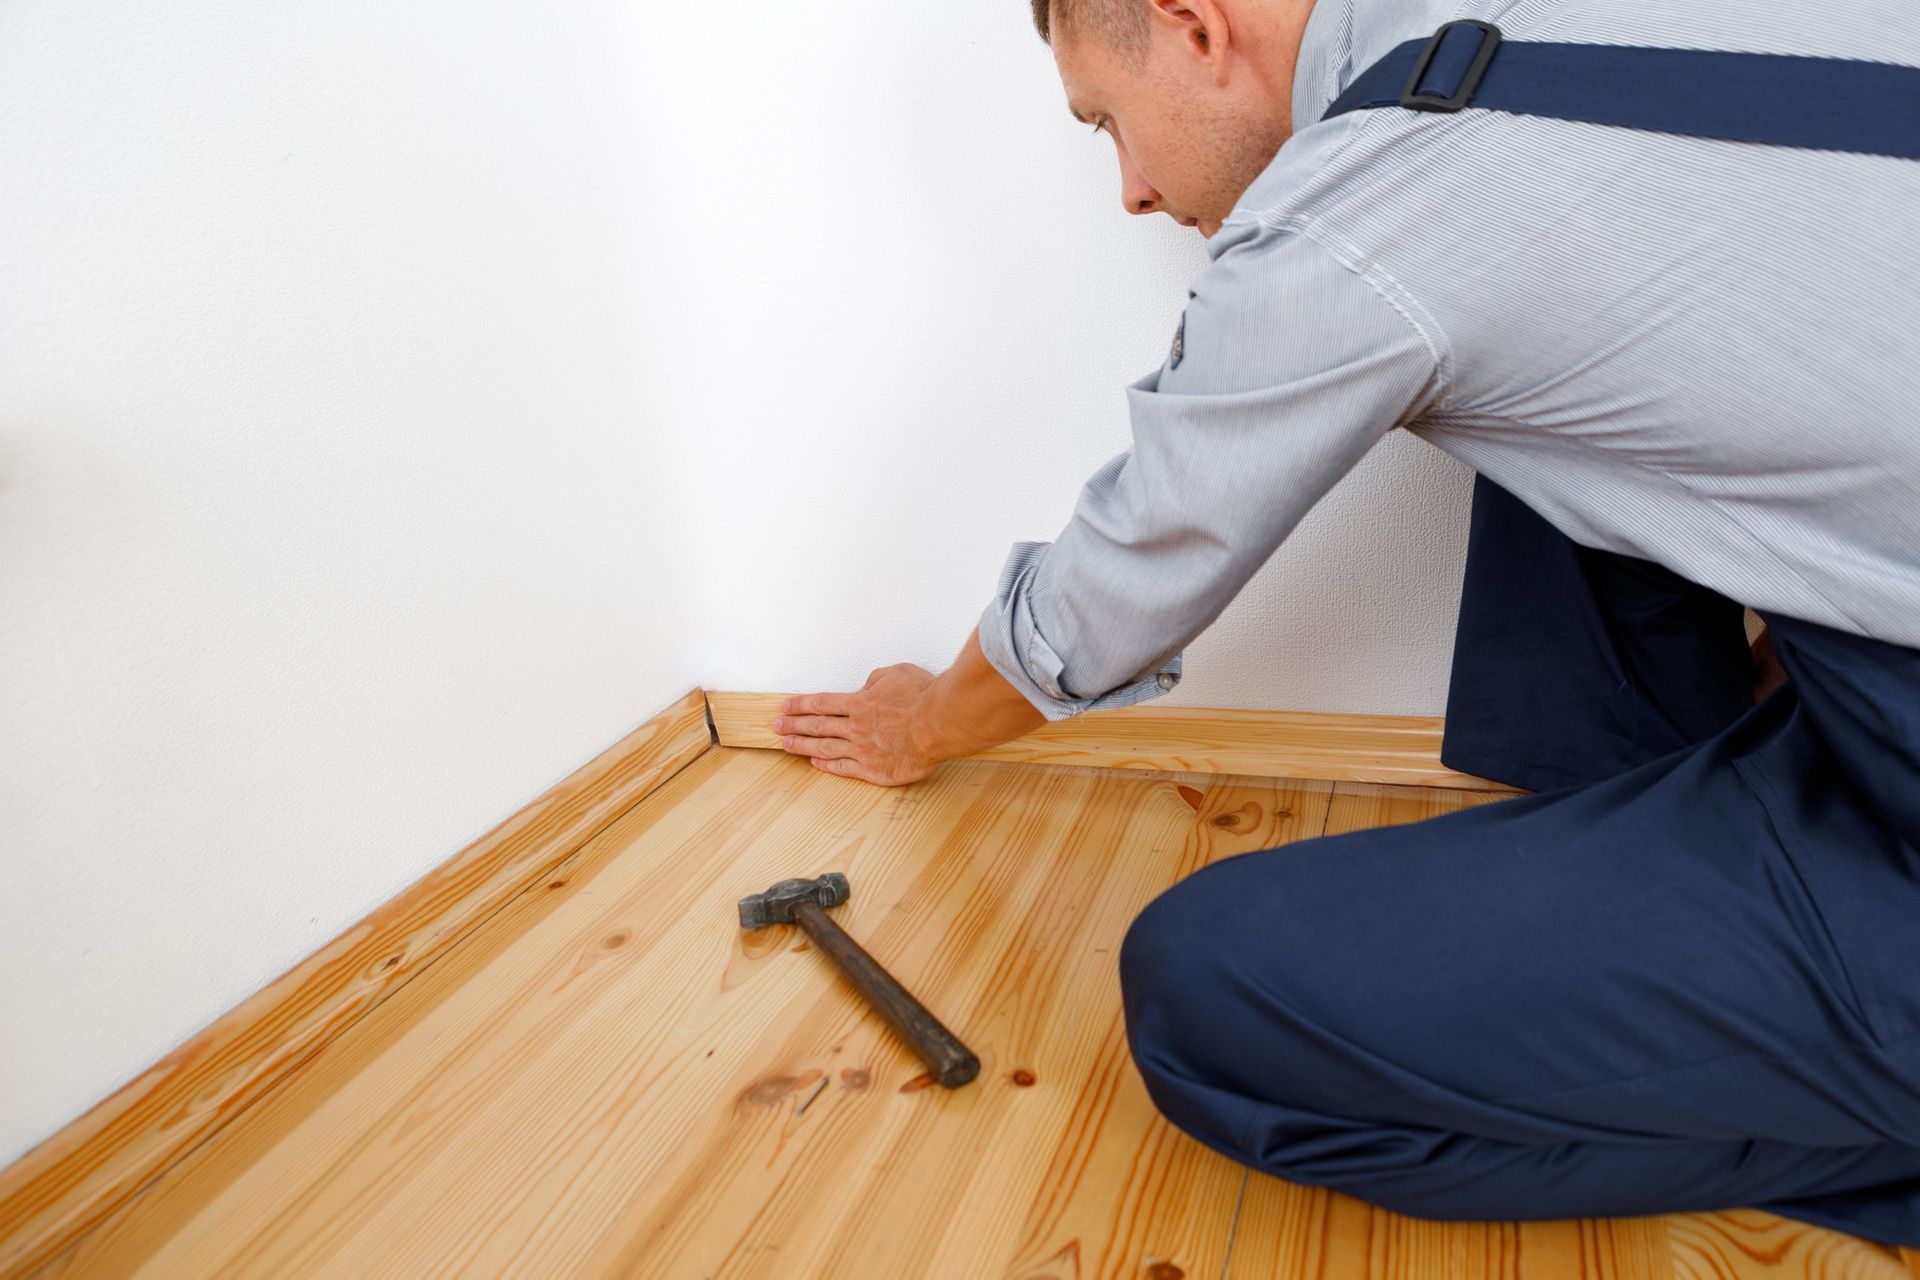
i. Installing Transitions and Trims
Transitions and trims act like the finishing strokes of a painter’s brush, providing a seamless look between various flooring surfaces and protecting the edges of your new Lifeproof flooring. When installing transitions between Lifeproof flooring and other flooring materials, ensure a snug fit without restricting the floor's natural expansion. This step not only ensures aesthetic appeal but also safe, trip-free transitions between different rooms or flooring types.
ii. Cleaning and Maintenance Post-Installation
Once you’ve mastered the art of installing Lifeproof flooring, maintaining its allure is the next pivotal step. Begin with a thorough cleaning to remove any debris from the installation process. Employ a soft broom or a vacuum cleaner suitable for hard floors to keep your new floor in a pristine state. Furthermore, for those unexpected spills or stains, always refer to the manufacturer’s guidelines to ensure appropriate cleaning methods that won’t damage your new Lifeproof floor.
4. Navigating Common Challenges When Installing Life-proof Flooring
Embarking on a DIY project like installing Lifeproof flooring can present a few obstacles, even for the most seasoned home improver.
A. Dealing with Uneven Surfaces
A flawless Lifeproof flooring installation necessitates a smooth and level subfloor. Uneven surfaces may cause issues like buckling or instability in your new flooring. Using a straight edge or a laser level can assist in identifying high or low spots that might need attention. Consider employing leveling compounds or plywood to even out significant discrepancies.
B. Managing Tricky Corners and Edges
Tricky corners and edges can be daunting but, with a strategic approach, you’ll navigate through with ease. Measure meticulously and utilize tools like jigsaws for precise cuts around intricate areas. Always consider expansion gaps even in these tricky zones to safeguard your floor against future issues.
C. Addressing Gaps and Mismatched Patterns
Gaps or misaligned patterns can be an eyesore after installing Lifeproof flooring. Ensure that planks are firmly locked during installation and confirm pattern consistency as you go along. A staggered installation, where end joints are varied across rows, often provides a pleasing and professional appearance.
5. Long-term Care and Maintenance of Lifeproof Flooring
Lifeproof flooring, while durable and resilient, will retain its beauty and function with proper care and maintenance.
A. Regular Cleaning Practices
Adopt a regular cleaning schedule, using products that are safe for Lifeproof flooring, ensuring it remains free from damaging grit and grime. Utilize doormats at entrances to minimize the ingress of dirt and protect the floor from prolonged exposure to harsh sunlight using blinds or curtains.
B. Preventing and Addressing Wear and Tear
Place protective pads beneath furniture legs and be mindful of potential scratching hazards, ensuring that your Lifeproof floor remains impeccable for years to come. For areas with heavy footfall, consider utilizing area rugs or runners to mitigate wear.
C. When to Consider Replacing or Repairing
While Lifeproof flooring is engineered for longevity, it’s crucial to recognize when a plank requires repair or replacement. Understanding how to replace a damaged plank effectively is valuable to maintain the aesthetic and function of your floor.
Conclusion
Navigating through the comprehensive journey of installing Lifeproof flooring, we've unearthed not only the pragmatic facets but also the subtleties that breathe life into the process, sculpting it into an art where precision, knowledge, and patience intertwine. From the contemplative phase of choosing Lifeproof with its vibrant array of options to the methodical and rewarding process of actual installation, each step is a mélange of practicality and a dash of creativity.
Should the journey of installing Lifeproof flooring feel too daunting, or if you simply wish to ensure the utmost precision and care,
Bell's Hardwood Flooring emerges as a beacon of quality service. Renowned as a premier flooring installation service provider in Largo, FL, with a stellar track record of impeccable installations, their expertise ensures your flooring is not only lifeproof but crafted to perfection. To embark on a journey of transformation with them, reach out at
727-518-9122, and let every plank laid resonate with professionalism and care.
The beauty of Lifeproof flooring does not solely lie in its aesthetic appeal or its stoic resistance against daily tribulations. Rather, it's in its ability to merge these two worlds, offering a surface that’s both delightful to behold and enduring against the trials of time. As we reflect upon the potential challenges that may surface during installation – the tricky corners, the ever-so-slight gaps, or the uneven subfloors – it’s pivotal to remember that each hurdle surpassed is a step towards mastering the art of installation, adding another layer of personalized touch to your abode.
Our homes, after all, are not mere physical spaces but a canvas where our stories, experiences, and journeys intertwine, and your new Lifeproof floor now becomes a part of that rich tapestry. Whether you’re a seasoned DIY enthusiast or a novice stepping into the world of home improvement for the first time, the process of installing Lifeproof flooring invites you to learn, create, and perhaps, even rediscover your space through a new lens. The detailed guide offered throughout this blog is not merely a set of instructions but a toolkit, designed to equip, empower, and inspire you on this journey.
Thank you for allowing us to be a part of your Lifeproof flooring installation adventure. May each step you take on your new floor be a reminder of the craftsmanship, care, and resilience embedded within, offering a steadfast surface upon which many more memories, stories, and adventures will unfold. And remember: each plank laid is not just a piece of material but a step towards turning your dwelling into a haven that echoes with your stories, ensuring that your floors are not just lifeproof but also rich with the tapestry of your journey.
Discover what to anticipate during the installation of your flooring from local pros. Gain insights into the process and ensure a smooth experience.

Discover the significance of professional hardwood floor repair services. Enhance beauty, durability, and value of your home's floors. Learn more today!

Discover the perfect floor store near you today. Transform your space with quality flooring options. Visit us now!

Stay ahead in style! Explore 2024's home flooring trends – discover what's in and what's out for a modern and timeless look.

Discover the finest hardwood floor options near you. Upgrade your space with premium quality and timeless elegance.

Experience the natural beauty under your feet with hardwood flooring. Elevate your home's aesthetics and comfort with timeless elegance.
Discover 2024's top trends in laminate flooring. Learn what's hot and why, for stylish, durable, and innovative home flooring solutions.

Enhance your home for the holidays with our guide on installing vinyl plank flooring. Create a festive, durable base for merry celebrations.
Discover why expertise is crucial in hardwood floor replacement, ensuring durability, quality, and a flawless finish for your home's flooring.

Explore 2023's tile flooring trends in our guide, offering expert advice on choosing versatile, durable tiles to elevate your home's style.
Quick Links


Hours of Operations
- Mon - Fri
- -
- Saturday
- -
- Sunday
- Closed